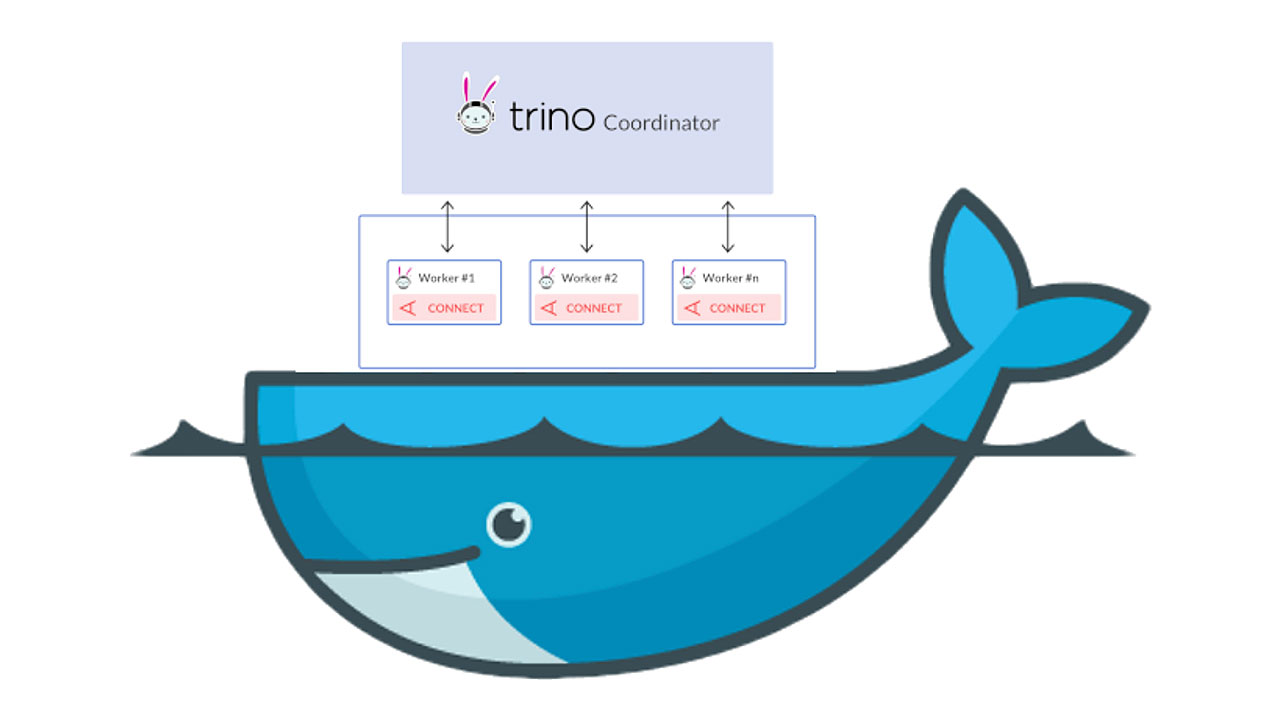
Deploy Aerospike and Trino based analytics platform using Docker
Data to insights, quick and easy

Aerospike Connect for Presto was released earlier this year to address the need to convert data stored in Aerospike into valuable insights quickly using the Trino (formerly known as PrestoSQL) distribution of Presto. Based on the feedback that we received from our users, we are pleased to announce that you can now deploy the Presto connector along with Trino quickly using Docker.
Here are the salient features of our Docker based solution:
Supports multiple deployment modes depending on your use case:
Standalone – both coordinator and worker are launched within the same container, which when coupled with Aerospike launched within a separate container can help you with rapid prototyping. Consider trying it out with the Aerospike single-node Enterprise edition to test the waters.
Distributed – coordinator and several workers are launched within separate containers across a Trino cluster to offer the scale needed for production workloads.
Provides the flexibility to your CI pipeline for building a single image that consists of the connector and the Trino version of your choice so that you can launch the combined image later using the simple docker run command.
Allows you to easily configure the connector container using either
environment variables or using bind-mounts to mount your connector configuration files, schema JSON files, along with the Trino configuration files.
Build Presto and Connector images
Aerospike does not provide pre-built Trino images. Hence, you need to build a Trino and the connector image by choosing the versions of your choice to run it using a docker command. The Trino version is available on the Trino release page, and the connector versions can be found on the Connector release page. Here are the steps:
git clone https://github.com/aerospike/trino-aerospike.docker
Change directory to trino-aerospike.docker
docker build . -t trino-aerospike The above command will build TRINO version 351 and the latest connector version. If you plan to use a different version of Trino and/or the connector, you can pass the TRINO_VERSION, and the CONNECTOR_VERSION as build arguments with the docker build command. For example, use the below command to build TRINO version 353: docker build --build-arg TRINO_VERSION=353 . -t trino-aerospike-353
Configure and run the image
There are a couple of options available to deploy the connector by modifying the docker run command.
Option 1: Launch Trino along with the connector in standalone mode Standalone mode, i.e., Trino coordinator and worker run on a single node mode, is suitable for testing purposes. For example, if your Aerospike server runs on port 3000, you can use the following command to run the connector container on a Mac. See the configuration section for more information on how to configure the connector container.
docker run --rm -p 8080:8080 -e AS_HOSTLIST=docker.for.mac.host.internal:3000 --name trino-aerospike trino-aerospike-353Based on our testing, you can launch a Trino cluster with the connector in the standalone mode with defaults in under 5 minutes.
Option 2: Launch along with the connector in distributed mode
Distributed mode, i.e., a single coordinator and multiple workers, is usually preferred for production deployments. See the configuration section for more information on how to configure the connector container.
Start a Trino coordinator.
docker run --rm -p 8080:8080 -e TRINO_NODE_TYPE=coordinator -e AS_HOSTLIST=docker.for.mac.host.internal:3000 --name trino-aerospike-coordinator trino-aerospike-353Start a Trino worker, specify the TRINO_DISCOVERY_URI to be the URI of the Trino coordinator. For example,
docker run --rm -e TRINO_NODE_TYPE=worker -e AS_HOSTLIST=docker.for.mac.host.internal:3000 -e TRINO_DISCOVERY_URI=http://example.net:8080 --name trino-aerospike-worker1 trino-aerospike-353
Replace example.net:8080 to match the host and port of the Trino coordinator. This URI must not end in a slash. Note that the above command will only run a single docker container instance of the worker. If you would like to spin up multiple worker instances, create a bash script and include the below command as many times as the number of workers desired for automation. However, you would have to change the name of the worker instance, e.g., trino-aerospike-worker-2, and so on.
docker run --rm -e TRINO_NODE_TYPE=worker -e AS_HOSTLIST=docker.for.mac.host.internal:3000 -e TRINO_DISCOVERY_URI=http://example.net:8080 --name trino-aerospike-worker2 trino-aerospike-353You can configure the Trino connector using either environment variables or mounting configuration files to the container. For more information on how to configure the Trino connector and launch the Trino and connector containers, visit our documentation website.
Once you have successfully launched the Presto and the aerospike connector containers, you can generate insights from 100’s of TB of data stored in Aerospike using the Trino CLI.
You can create insightful dashboards using Tableau or manipulate data using Presto and Python libraries via the PyHive Python interface. If you would like to quickly try out our Docker based solution with a single node Aerospike Enterprise Edition, please follow the instructions here.


